Fitting Guide for Wooden Slat Acoustic Panels
Our wooden slat acoustic panels are designed to enhance both the aesthetic and acoustic quality of your space, bringing the beauty and tranquility of natural wood into your home or office with ease. In just a few steps, you can transform your walls into works of art with less effort and time than traditional planking methods.
Wooden slat acoustic panels
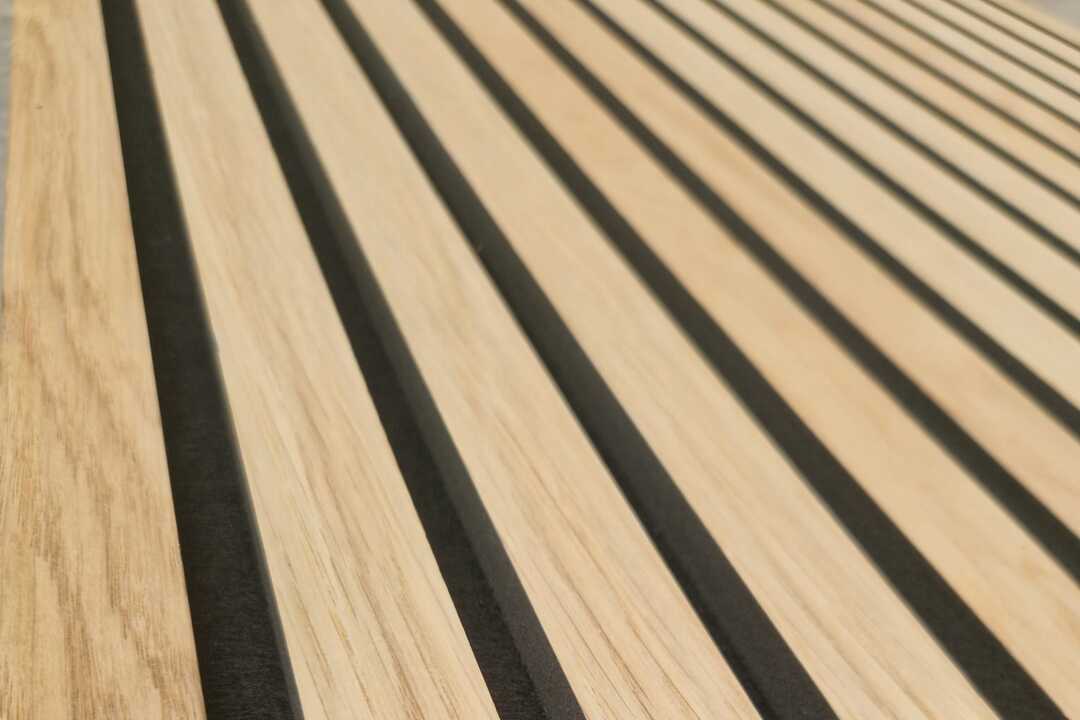
Our wooden slat acoustic panels are meticulously crafted using a combination of wood veneer, eco-friendly MDF board, and polyester fiber. The natural texture of the wood veneer ensures each slat is unique, adding a touch of individuality to your décor.
Key Features:
- Easy Installation: Reasonable panel size simplifies the installation process.
- Eco-Friendly: Achieves E0 eco-level, ensuring no harmful effects on health.
- Variety of Colors: Available in a range of colors to suit your design needs.
- Quality Assurance: Sourced directly from manufacturers, offering high quality and competitive prices.
Acoustic Benefits:
- Sound Reflection: Reduces reflected sound energy for a quieter space.
- Sound Absorption: Absorbs sound energy to improve acoustic quality.

Installation guide
Tools and Materials Needed
- Measuring tape
- Saw or cutter
- Adhesive (suitable for wood and wall surfaces)
- Nails or screws
- Level
Step-by-Step Instructions
-
Measure the Installation Area:
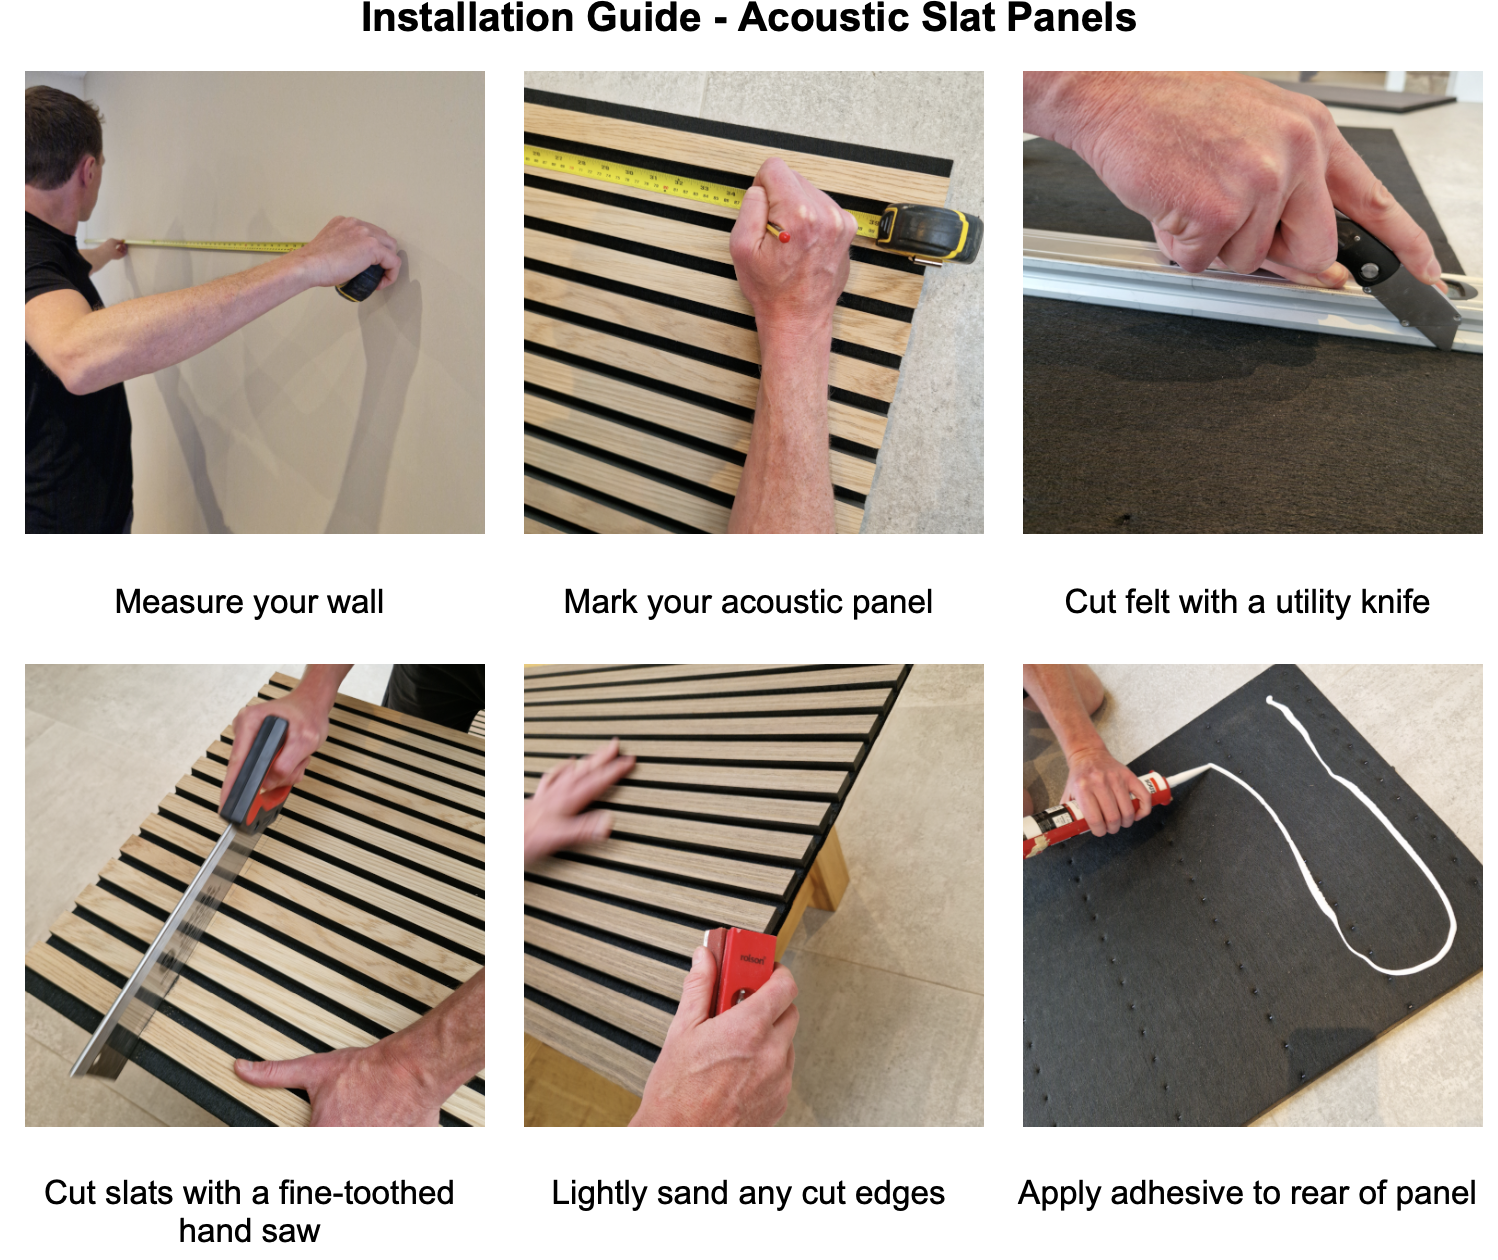
- Begin by measuring the area where you plan to install the panels to determine how many panels you will need.
-
Measure the Panels:
- Measure each wooden slat acoustic panel to ensure they fit the designated area.
-
Cut the Panels to Size:
- Use a saw or cutter to trim the panels to the required size.
-
Apply Adhesive:
- Apply a generous amount of adhesive to the back of each panel. Make sure to cover all edges and the center for a strong hold.
-
Position the Panels:
- Press the panels firmly against the wall, starting from the bottom and working your way up. Use a level to ensure each panel is straight.
-
Secure the Panels:
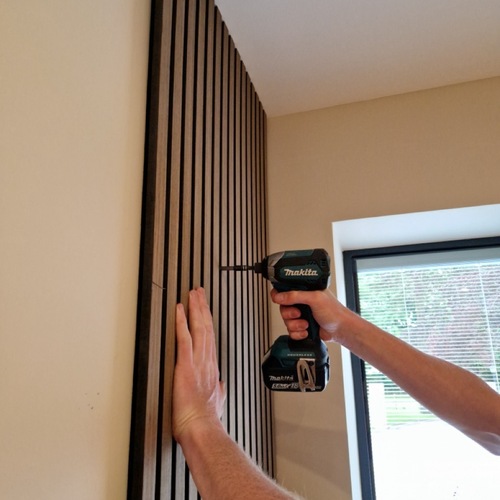
- For additional security, nail or screw the upper part of the panels into the wall. This will ensure they stay in place over time.
-
Finish the Installation:
- Once all panels are installed, check for any gaps or uneven areas and make adjustments as needed. Clean any excess adhesive.

Fitting Guide
Download and Watch our fitting guide for wooden slat acoustic panels to get started on your project today.
Download Fitting Guide Manual »Watch our Fitting Guide Video »


Find Out More.
Design a Wall provides an online designer that allows you to create custom feature walls, acoustic walls, slat panel walls and smart walls. Our easy-to-use tool lets you choose from a range of materials, colours and finishes to create a wall that is perfect for your space.
Design your own wallA feature wall is a wall that is designed to stand out from the rest of the walls in a room. It is often painted a different colour or covered in a different material to create a focal point in the room.
Learn more about feature wallsA slat wall is a wall that is covered in slats of wood or metal. It is often used in retail environments to display products, but can also be used in homes to create a modern and stylish look.
Learn more about slat wallsAn acoustic panel is a panel that is designed to absorb sound and reduce noise levels in a room. They are often used in offices, schools and other commercial buildings to create a more comfortable working environment.
Learn more about acoustic panelsA smart wall is a wall that is equipped with technology that allows it to perform a range of functions. This can include things like controlling the lighting in a room, playing music or displaying images.
Learn more about smart wallsShaker style wall panelling is a type of wall panelling that is designed to replicate the simple and elegant style of Shaker furniture. It is often used in traditional and country-style homes to create a classic and timeless look.
Learn more about shaker style wall panellingFitting slat acoustic panels is a relatively simple process that can be done by anyone with basic DIY skills. Our step-by-step guide will show you how to measure, cut and install your panels to create a stylish and effective acoustic solution.
Learn more about fitting slat acoustic panels